As a way to explore the potential of Rhino Grasshopper, I started working on a series of milled panels. Each panel varies through the use of a few simple variables (grasshopper uses slider bars). These values are fed to a random number generator so the behavior is somewhat unpredictable.
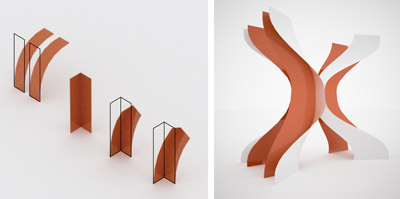
 The loft surface is built through a series of sin and cos curves, where the frequency is controlled by the variables (detail of the relationships below).
 Here are 4 sample surfaces made through slight modifications of the slider bars.
 The surface is then contoured to approximate a milled pattern.

As a variation of the simple surface, it gets slightly submerged into the stocck material, leaving a flat surface on the top with the remaining surface being milled. This reduces the material thickness and milling time.


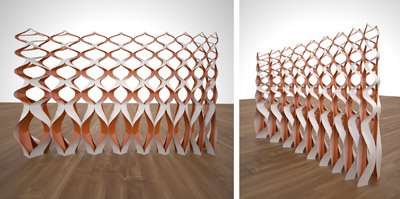
 The goal for this project was to have the first few points lay flat before changing elevation. The thought was this would give it a stable base.
 Projecting the shape flat then allows for the creation of the "V" column at the termination of the spiral. A split, subset, and interval are used to create spokes between different parts of the spiral.


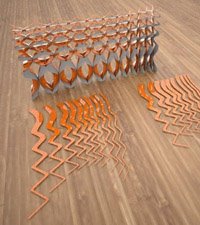
 Two splines are used to control a series of surfaces and the toolpaths used to mill the surface.


